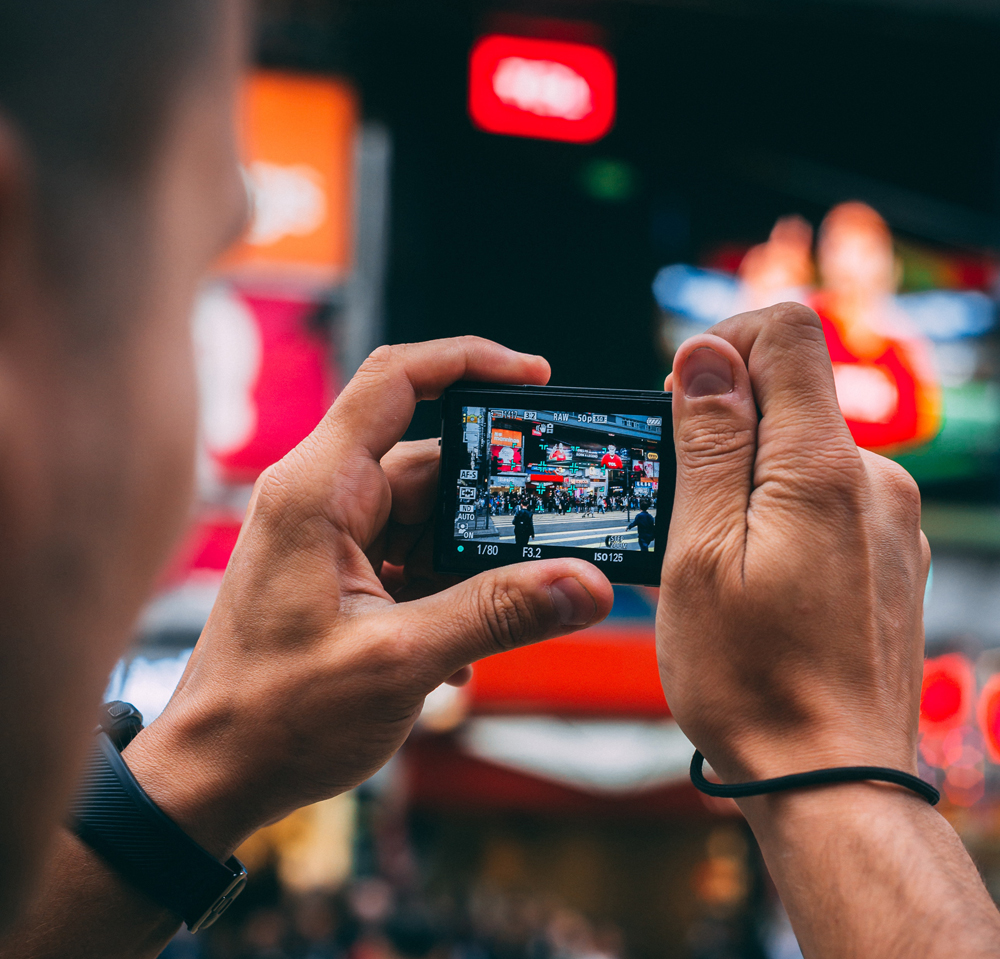
Photographing Digital Billboards

Taking pictures of your digital billboards can be quite difficult. Digitals can be tricky because of weather, camera quality, finding the right angle, and clutter in your way. You want to be able to show off your great billboard to entice customers to advertise on it… so why not learn some tips and tricks to take the best possible photos you can. In this article we’ll share what we have learned.
Time of day: The best time of day is before mid morning or dusk. Try not to take the photo where the sun is blazing toward the camera. You want the sun behind you if possible. Waiting until a cloudy day will give you the best photos because the brightness of the digital isn’t competing with the brightness of the sun.
Clutter in the background: Pay attention to clutter all around the object that you are taking a photo of. Vehicles, signs, buildings, trash cans, power lines, etc. Clutter really can ruin a really good picture. Make sure to take a picture of the entire billboard structure, not just the face.
Adjusting your camera shutter speed: For optimal results, you need to have the shutter speed adjusted to the same speed (refresh rate) as the digital billboard. Try to not make the speed extremely high or the picture of the led will look grainy.
ISO: Make sure the ISO is adjusted properly. The lower the ISO setting is, the darker the picture will be. The higher the ISO setting is, the brighter the picture will be.
Making the adjustments:
Step 1) Set your Camera to “S” or “TV” depending on the brand

Step 2) Use the wheel to adjust your camera’s shutter speed. The camera will automatically adjust the ISO.

Step 3) Try adjusting these settings and taking a few pics. Check them on a computer (on-site preferably) to see how they look. Keep adjusting the shutter speed until you get the perfect shot. Trial and error are a big part of getting the perfect photo of a digital billboard. Good luck!


